Step-by-Step Installation, Configuration, and Management of Security Onion
In this lab, I'll walk you through the setup of Security Onion, complete with integrated tools such as Grafana, Kibana, and playbooks. We'll configure this environment in a home lab setting and explore the steps to access and manage it remotely using Ubuntu Desktop.
Before we proceed, let me provide a brief overview of Security Onion, outlining its core functions and explaining why it is a valuable addition to your lab.
What is Security Onion?
Security Onion is like a virtual watchdog for your computer network. It's a free and open-source software package that helps monitor suspicious activity on your network. It is a Linux distribution designed to provide visibility into the security of your network infrastructure and applications.
What Does It Do?
It monitors network traffic, looking for signs of potential cyber threats or attacks. It can detect things like unauthorized access, malware, or unusual behavior that might indicate a security issue.
Why Use It in an Industry or Home Lab?
In an industry setting, Security Onion is crucial for enhancing cybersecurity. It helps detect and respond to potential threats, preventing data breaches. For home labs, it's a powerful tool for understanding cybersecurity and protecting your personal devices from online threats. Moreover, it is free and can be used by both professionals and enthusiasts.
Requirement for the successful complition of this lab
Note: that the prerequisite for this walkthrough is the capability to install various virtual machines, encompassing both Windows and Linux distributions, on your preferred virtualization platform.
Step-by-Step Guide
Begin the installation process by first installing VirtualBox. Once VirtualBox is successfully installed, seamlessly move on to installing Security Onion with the following steps:
- Launch VirtualBox and create a new virtual machine by either selecting 'New' or using Ctrl+N.
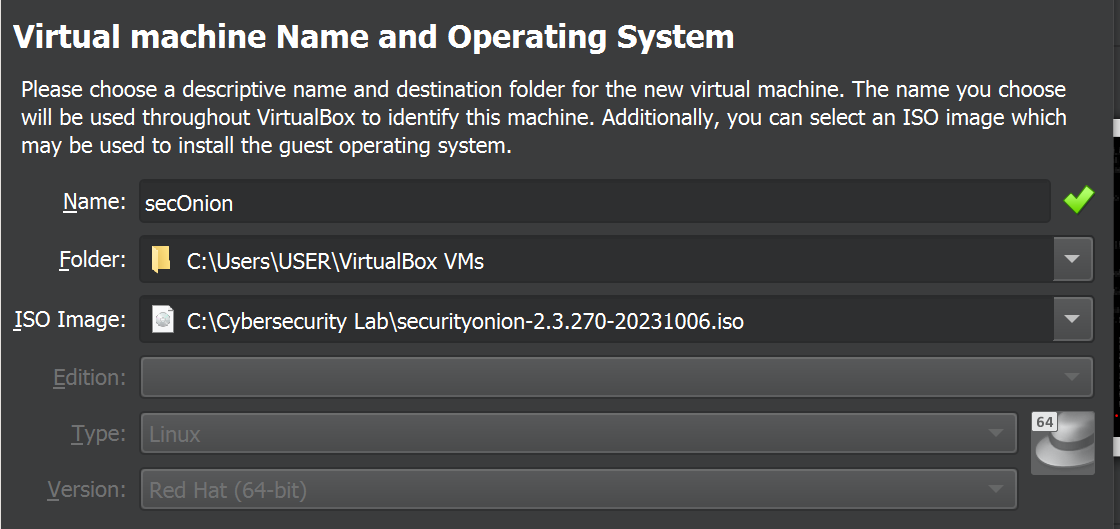
- In the ensuing dialog box, assign the name 'secOnion' to the virtual machine.
- Locate the downloaded Security Onion ISO file and import it into the ISO image section of the virtual machine settings.
- Proceed to the next step by clicking the 'Next' button.
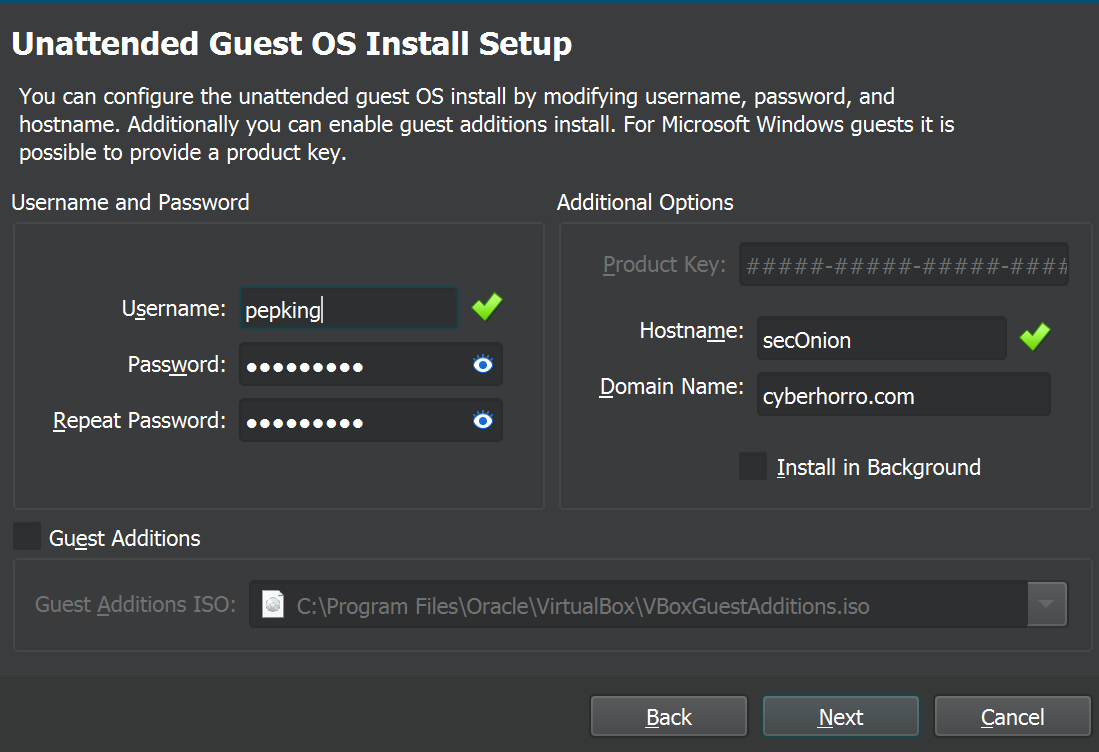
Next, initiate the setup process by establishing a username, password, and specifying your domain name.
Utilizing the domain "cyberhorro.com," which was previously established in my Active Directory home lab, proceed with the configuration by entering the chosen username and password. If you haven't explored it yet, take a moment to check out the setup for a comprehensive understanding.
Now, let's delve into the crucial aspects of memory and CPU allocation for our Security Onion setup:
Security Onion's RAM and CPU requirements hinge on your specific use case, the volume of network traffic for analysis, and the specifications of your host machine.
As a general guideline, allocate a minimum of 12GB of RAM for a Security Onion deployment. Given that my host machine boasts only 16GB of RAM, dedicating half of this (8GB) to the Security Onion virtual machine strikes a reasonable balance.
When it comes to CPU allocation, Security Onion's performance benefits from multiple cores, particularly when handling substantial network traffic. With my Intel Core i5 processor, typically equipped with four cores (and up to eight threads with Hyper-Threading), it's advisable to allocate a significant portion of available cores—suggestively, 2 CPU cores—to the Security Onion virtual machine.
A prudent starting point involves allocating 2 to 4 CPU cores to the Security Onion VM. This allocation empowers Security Onion to adeptly process and analyze network traffic, ensuring optimal performance.
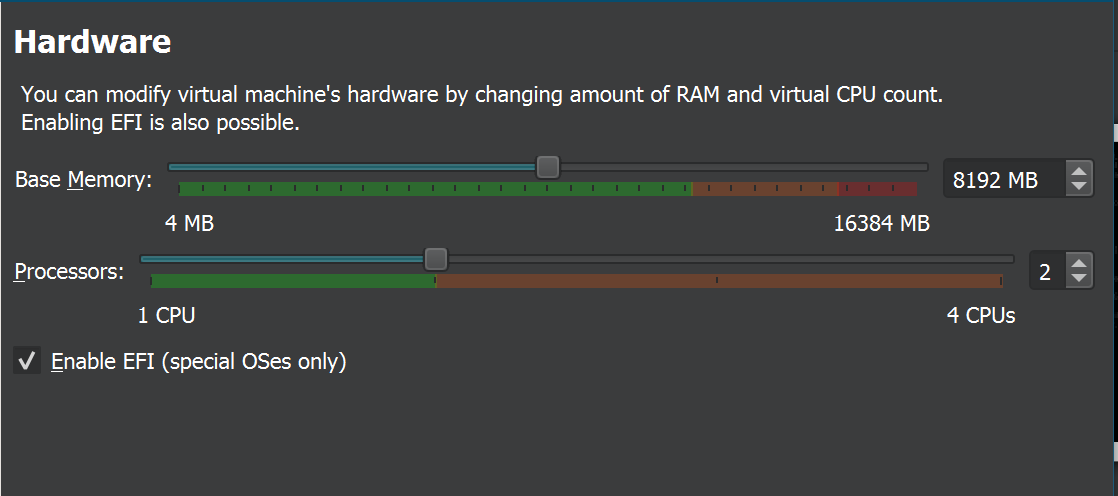
Note: that the total number of allocated CPU cores across all your virtual machines should not exceed the physical core count of your host processor to avoid performance degradation.
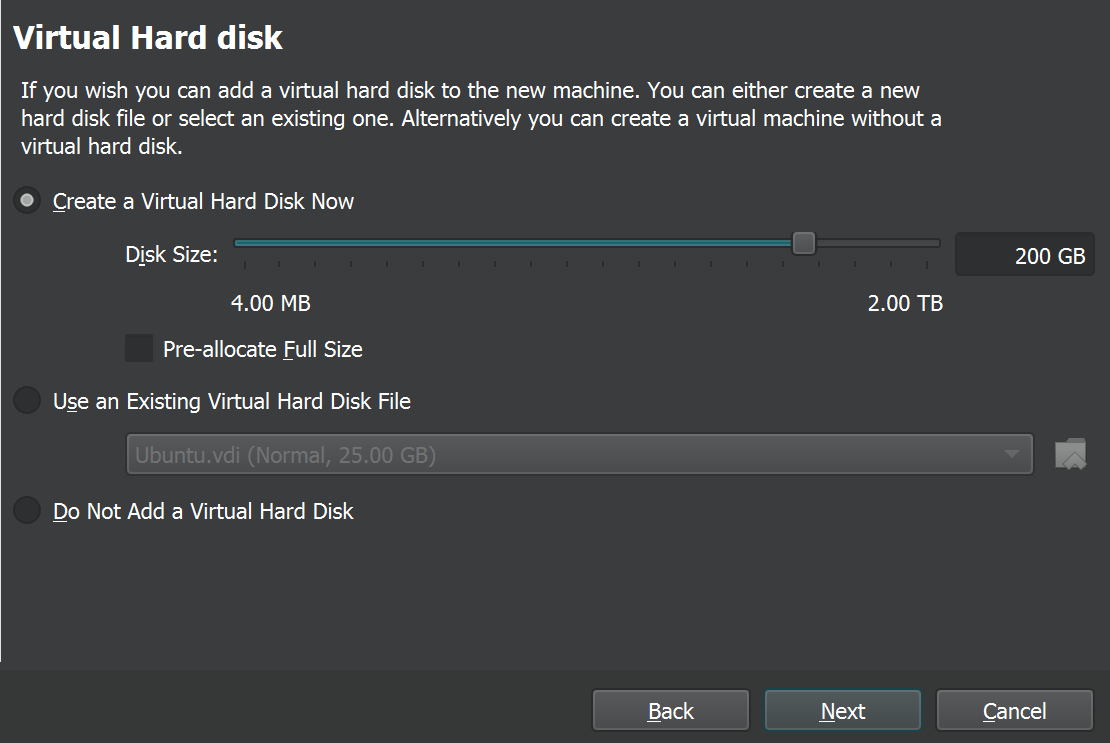
After completing the previous steps, proceed by clicking "Next" to allocate a virtual hard drive. Given the nature of the data and traffic involved, I recommend allocating a substantial 200GB of virtual hard drive space. Click "Next" to proceed with the allocation.
After you have completed all steps, click on "Finish". You will be taken back to the main page of Oracle VM Virtual
Now, as you prepare to start up your VM, let's make some final adjustments in the settings:
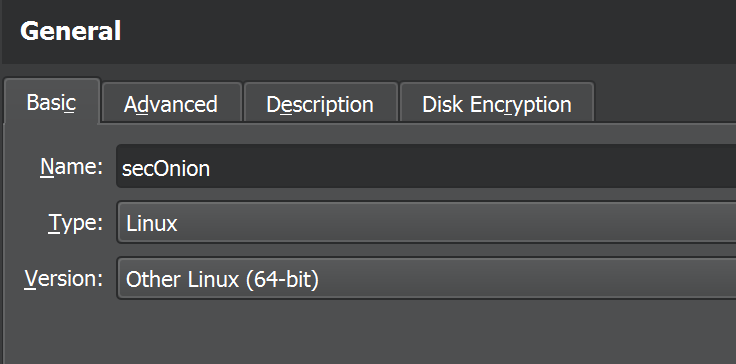
Recall that in the initial stages, we weren't allowed to specify the type of OS and version, and by default, it was set to Linux and Red Hat (64-bit) respectively. To optimize compatibility, go to the VM settings and make the following adjustments:
If you can't find CentOS in the list, choose "Other Linux (64-bit)" as an alternative. This ensures that your VM is configured appropriately. Navigate to the "Settings" menu, specifically in the "General" section, and modify the OS type to either "CentOS 7 (64-bit)" or "Other Linux (64-bit)."
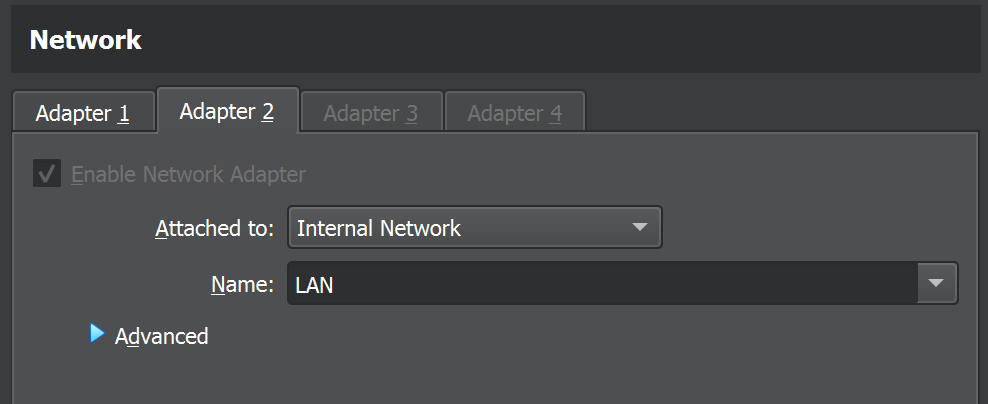
Next, navigate to the "Network" section in your settings and activate the second and third adapter. Attach it to the internal network and name it as "LAN" or any name that you can remember.
If you find yourself uncertain about these steps, I recommend referring to my previous walkthroughs on Active Directory and pfSense. These guides offer additional clarity on why and how the internal network and LAN configurations are crucial in the context of your setup.
Click "OK" to initiate the machine startup process.
Press "Enter" at the initial prompt to commence the installation procedure.

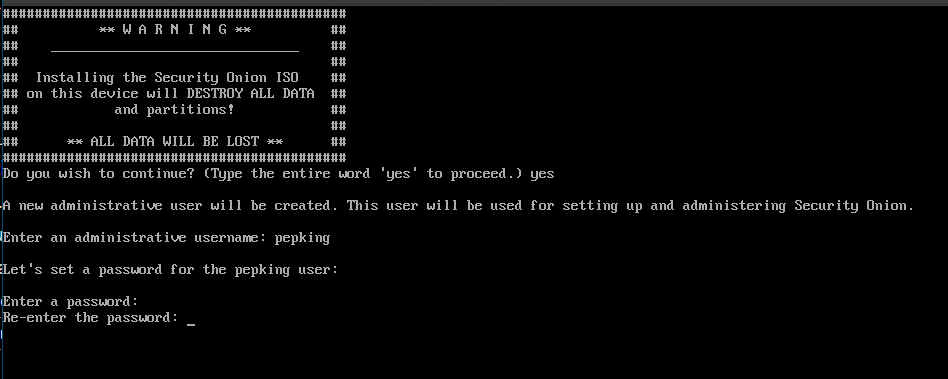
Enter "yes" and press "Enter" at the following prompt. Then, proceed to establish an administrative username and password.
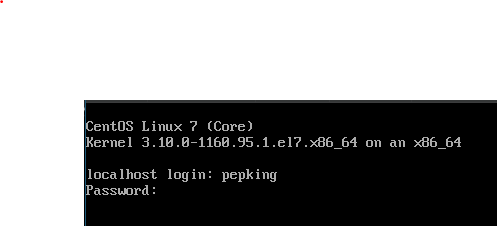
Once the installation process is complete, press "Enter" to initiate the reboot. After the system restarts, you will be prompted to log in using the previously set credentials.
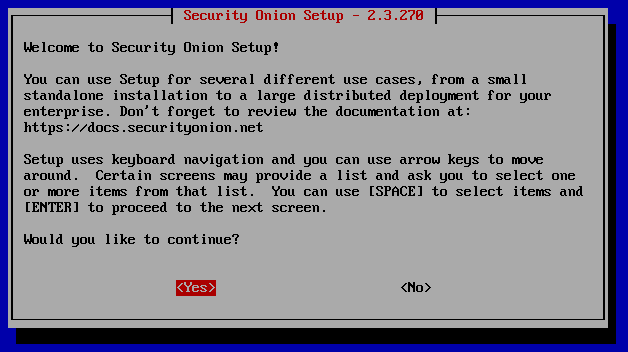
When the setup wizard appears, choose "Yes" and press "Enter" to proceed.
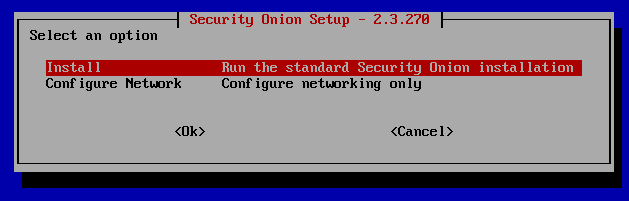
In the subsequent prompt, proceed with the standard installation process by selecting "OK" to continue.
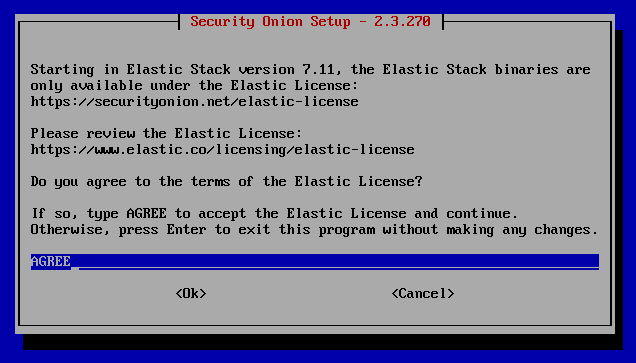
Utilize the EVAL option by pressing "Enter," input "AGREE," and then select "OK" to proceed.
Following this step, a warning will appear indicating that a minimum of 4 cores is required due to the initial configuration. Despite this, you chose to proceed with only 2 cores by clicking "Yes."

Additionally, a warning message will appear regarding the allocated RAM, stating a minimum requirement of 12GB, but you opted to proceed with 8GB by selecting "Yes."

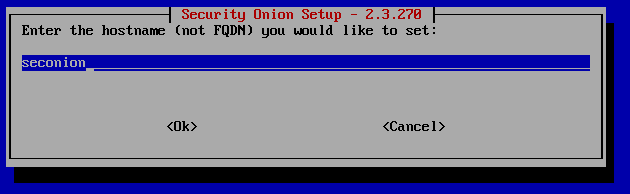
For the hostname, use "seconion," and for the description, enter "Security Onion Virtual Machine."
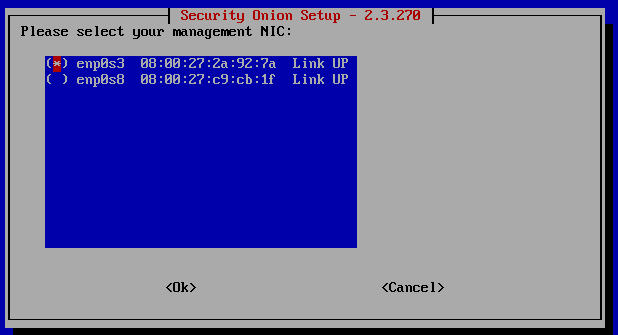
Select the first interface as your management NIC by pressing the space bar to highlight it, and then press "Enter" to confirm your choice.
Opted for DHCP for the management interface configuration.
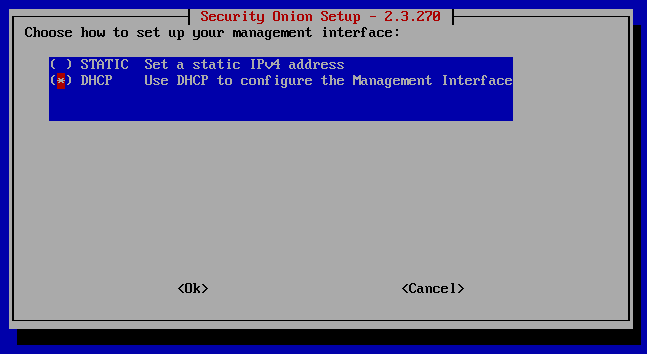
Despite the DHCP warning, you proceeded and clicked "OK" to initialize networking.
Ensure that your Security Onion has internet access for optimal functionality.
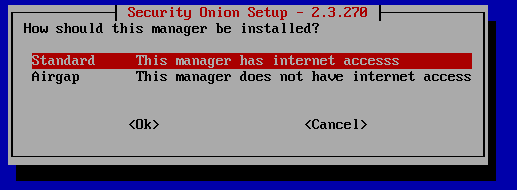
Opted for direct internet connection preference.

Chose the monitor interface for configuration.

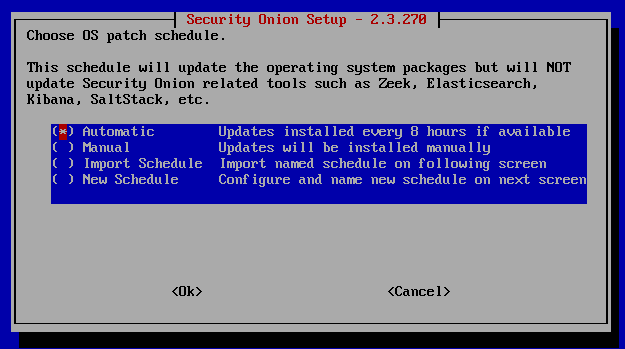
Set the OS patch schedule to automatic.
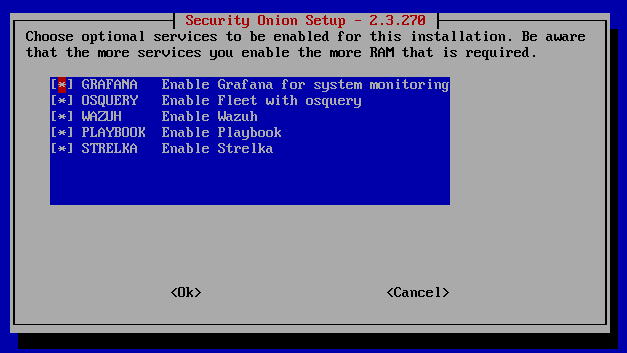
Proceed to the default option and confirm by clicking "OK."
Note: Utilizing additional services will increase the RAM requirements.
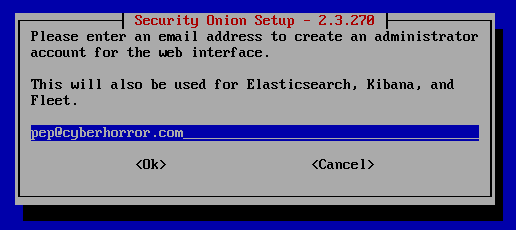
Specify the email for internet connection (you can use a non-valid address, e.g., pep@cyberhorror.com), and set a password.
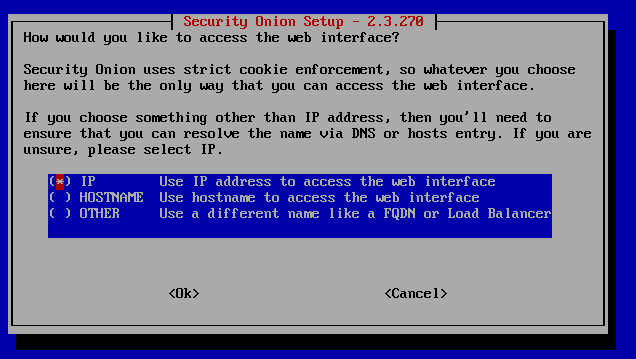
Prefer accessing the web through the IP address. Confirm by pressing "Enter."
Opt for configuring the NTP servers by selecting "Yes" and proceed with the default settings.
Avoid running `so-allow` as it will be configured later in the command prompt.

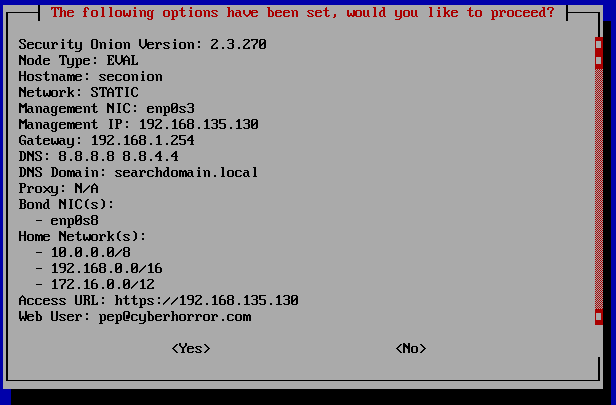
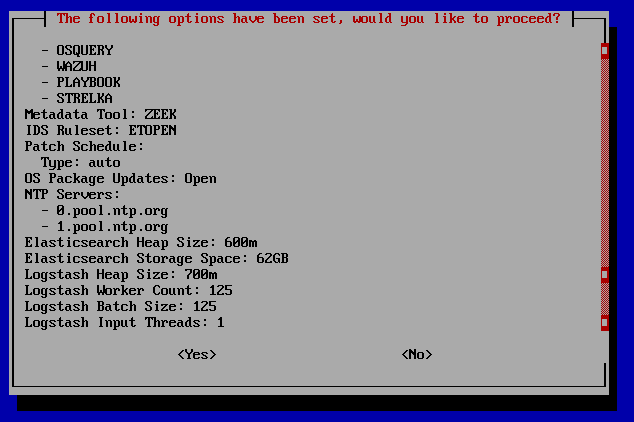
Review all the configured options. Press the "Tab" key to select "Yes" and proceed with the installation process.
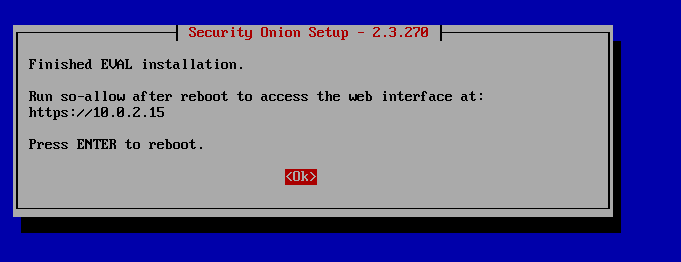
After several minutes, the Security Onion installation is now complete. Click "OK" to initiate the reboot.
Security Onion management
After installing Security Onion, access to the web interface will be established from an external Ubuntu Desktop, simulating a SOC/Security Analyst accessing a SIEM or any other tool from their device.
To enable this, you must configure an Ubuntu Desktop. Please note that the Ubuntu installation process is a prerequisite and won't be covered in this guide, assuming it's already completed.
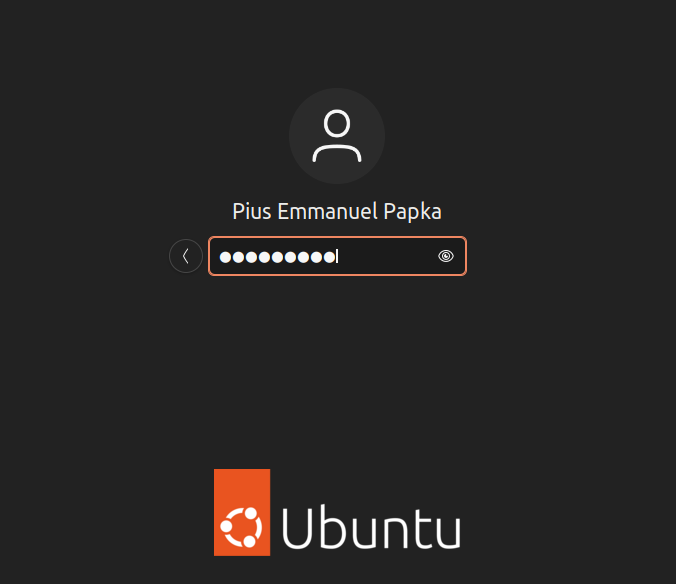
Install Ubuntu Desktop and proceed to log in.
Open the Terminal to intall net tools by using this command: "sudo apt install net-tools"

The "net-tools" package is a set of command-line tools for network-related tasks on Linux systems. These tools provide functionality for basic network diagnostics, configuration, and monitoring. Now that we install "net-tools", we can use the command "ifconfig" to check for our MAC and IP address
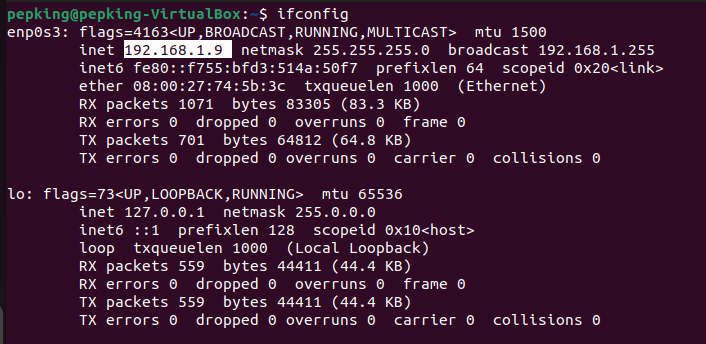
we will be using the highlighted IP address soon in our security onion
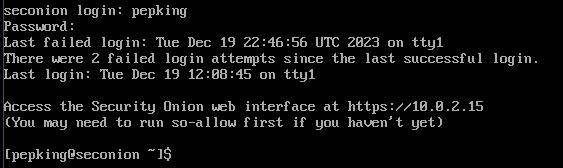
Now head over to your Security onion and login with the credentials you set.
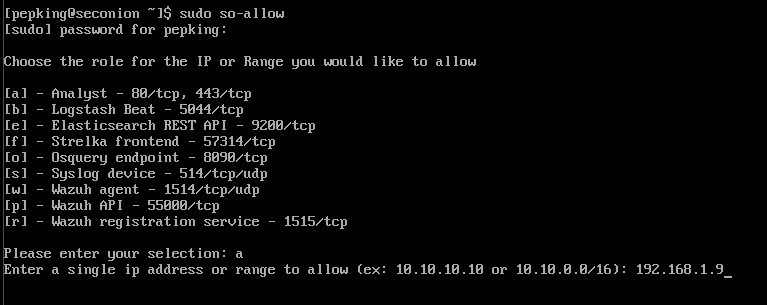
We will create a firewall rule on Security Onion to allow connection from our Ubuntu machine using the command: `sudo so-allow`. Enter our password, type "a" to add our Ubuntu IP with the analyst role. In your case, the IP is 192.168.1.9.
Note: To address the issue of VM machines with the same IP address due to NAT, I've switched to using NAT Network as an alternative, replacing the settings for all affected devices, and thereby changing all my IP addresses.
I created a NAT Network by navigating to File >> Tools >> Network Manager, enabling you to resolve IP address conflicts among your VM machines set to NAT.
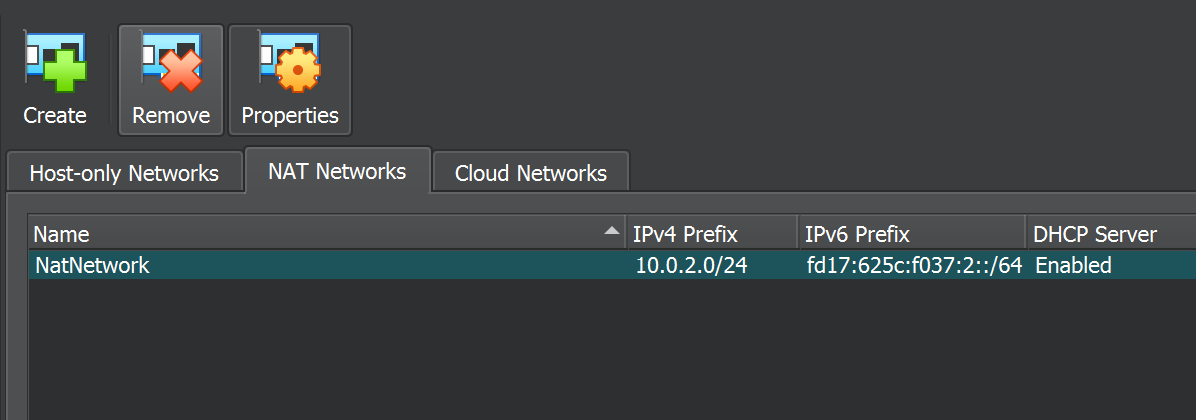
The revised IP addresses for the Security Onion and Ubuntu are now "10.0.2.15" and "10.0.2.4," respectively.
Return to your Firefox browser on Ubuntu and attempt to access the Security Onion using its IP address, which is now "10.0.2.15".
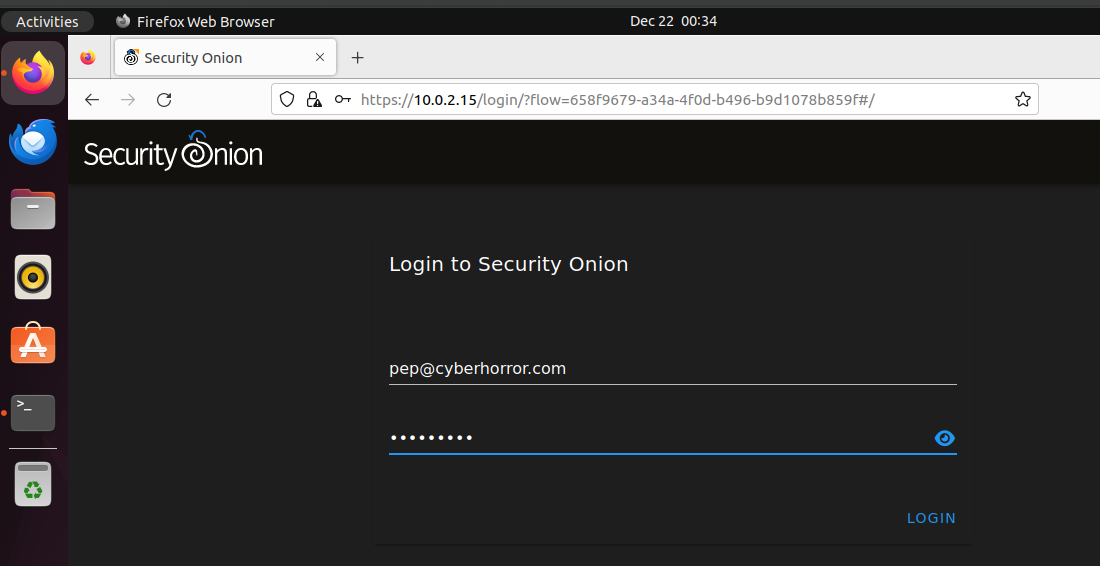
Note: Given that "10.0.2.15" is a private IP address, consider disconnecting your host machine from the internet to ensure proper access to Security Onion before connecting back.
Once logged in, you will gain access to your alerts within the Security Onion interface.
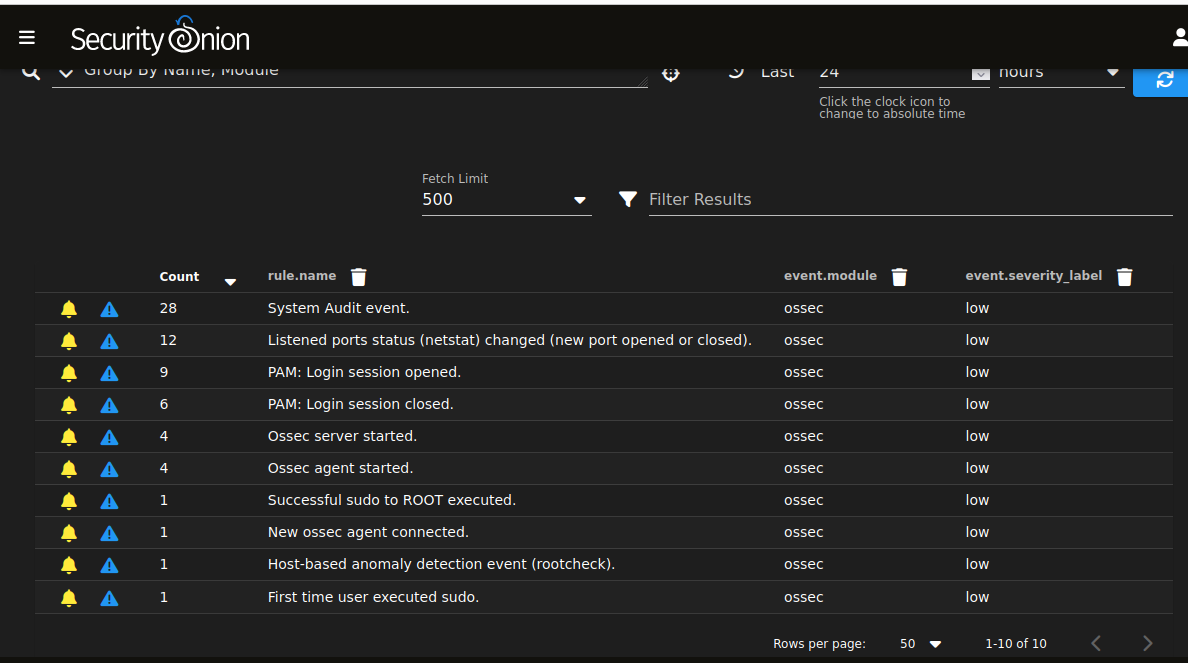
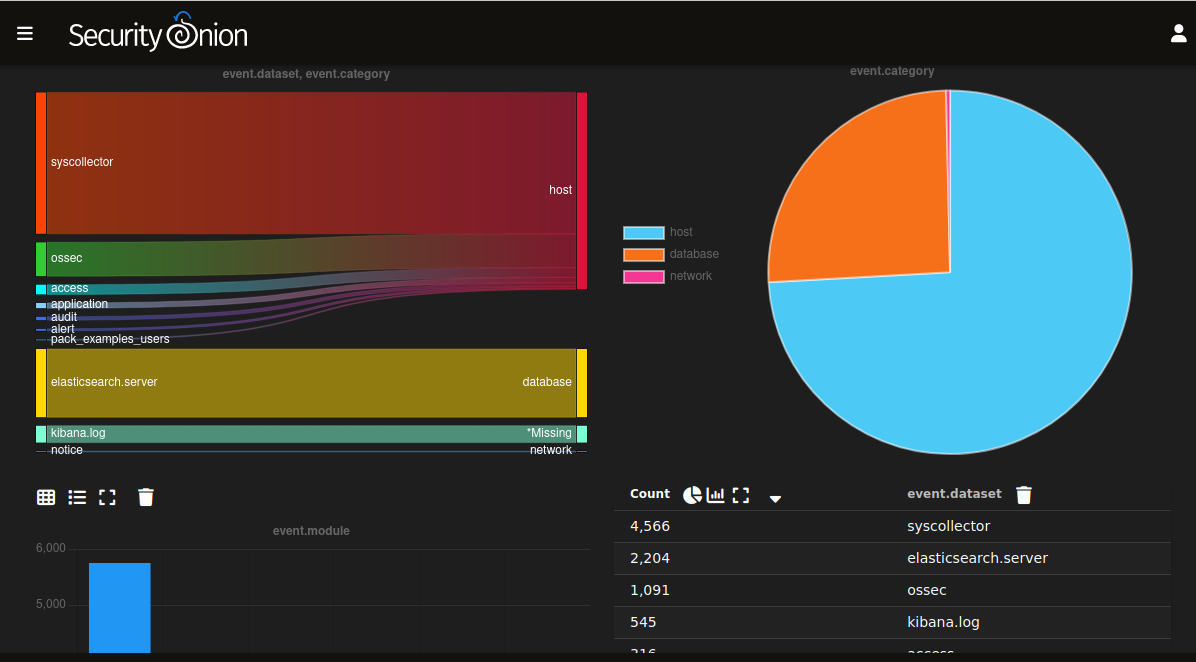
Dashboard which serves as a centralized interface for real-time visibility into network events, security alerts, and incident response. It provides visualizations of network traffic patterns, alerts from security tools, and log analysis, enabling quick identification of potential threats.
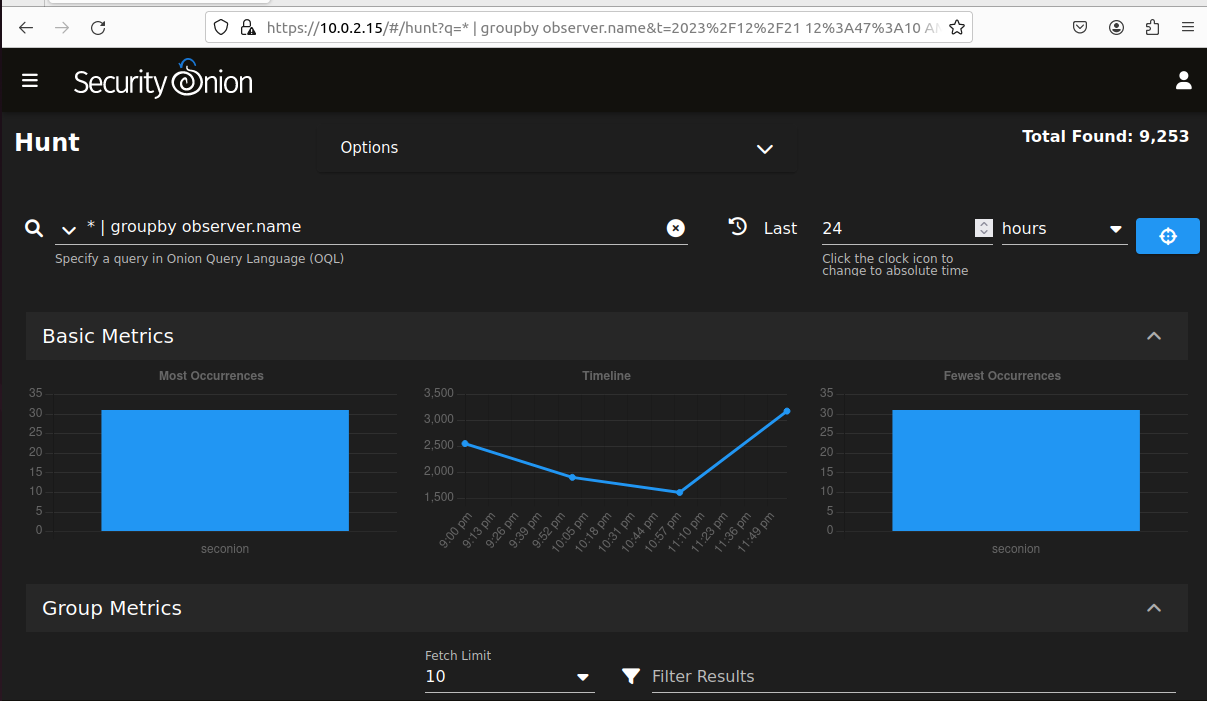
Hunt where we can proactively search for potential threats within our network. It provides tools for custom queries, visualizations, and time-based analysis, empowering analysts to discover anomalies and hidden threats that may not be detected by automated systems. The Hunt feature enhances overall threat detection capabilities.
Cases section typically represent specific scenarios or conditions that security analysts want to monitor for in their network. These could include detecting certain types of attacks, identifying suspicious behaviors, or responding to specific incidents.
PCAP (Packet Capture) is vital for recording network traffic. It supports intrusion detection, incident investigation, and forensic analysis by capturing and storing detailed network packets from various sources like network interfaces. Analysts use PCAP files for threat detection, proactive hunting, and understanding the full context of network events. The integration with tools like Suricata, Snort, and Wireshark enhances the platform's capabilities for effective security monitoring.
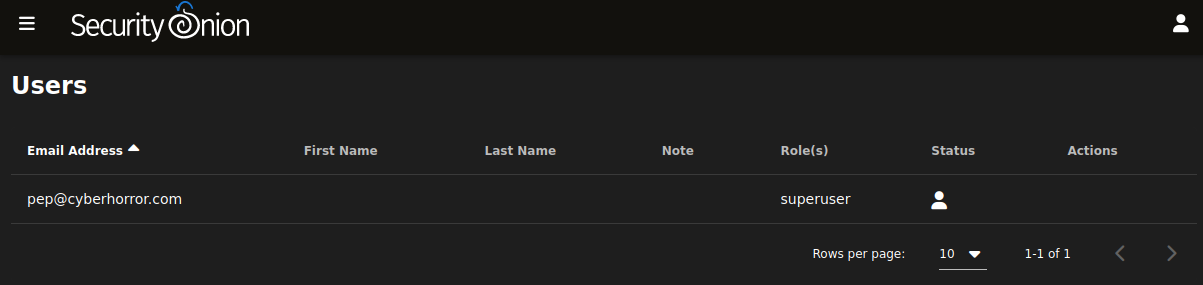
The user section shows all the available users, in my case is just a single user
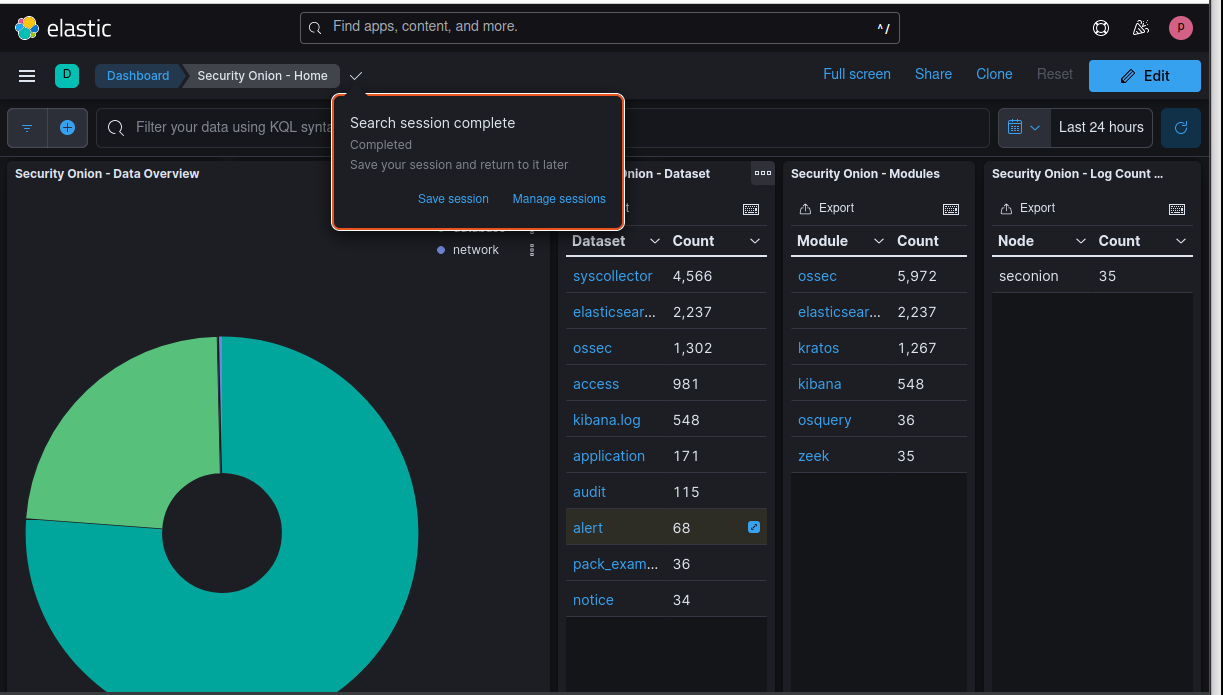
Kibana is the web interface used for visualizing and exploring data stored in Elasticsearch. It enables real-time monitoring, custom dashboard creation, and search/query capabilities, facilitating effective analysis of network events and security-related data.
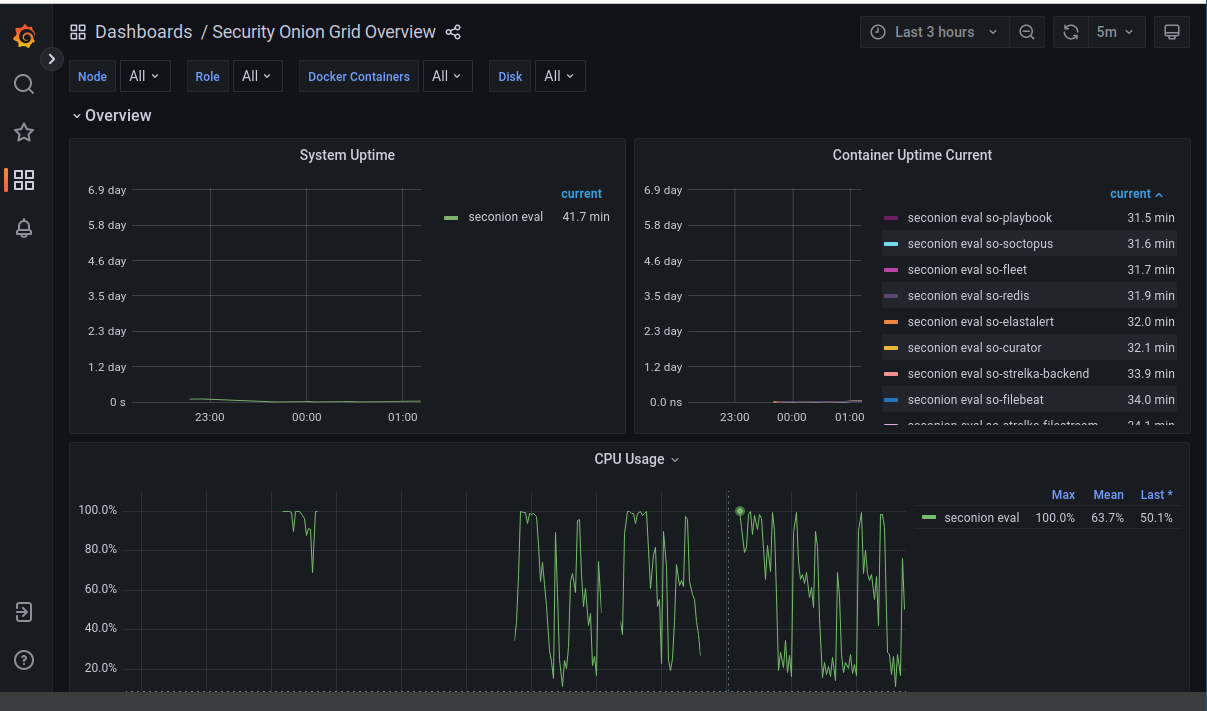
Grafana is also now integrated into security onion and many cool features to play around with
Thank you for staying with me through the entire step-by-step guide! Your commitment to learning is truly appreciated. If you’re eager for more educational content and a deeper understanding of pfSense or for potential collaborations or work opportunities, catch me on Twitter, LinkedIn, or GitHub. Let’s keep this knowledge-sharing vibe alive!