pfSense Configuration Lab: Mastering Network Security and Management
In this hands-on lab, I will guide you through the process of configuring pfSense, a robust open-source firewall and router platform based on FreeBSD. Follow this step-by-step guide to establish a secure and optimized network environment. Let's dive into the world of pfSense configuration and enhance your network management skills.
Requirement for the successful completion of this lab
Start by installing VirtualBox, then proceed smoothly to install and configure pfSense for a comprehensive network setup.
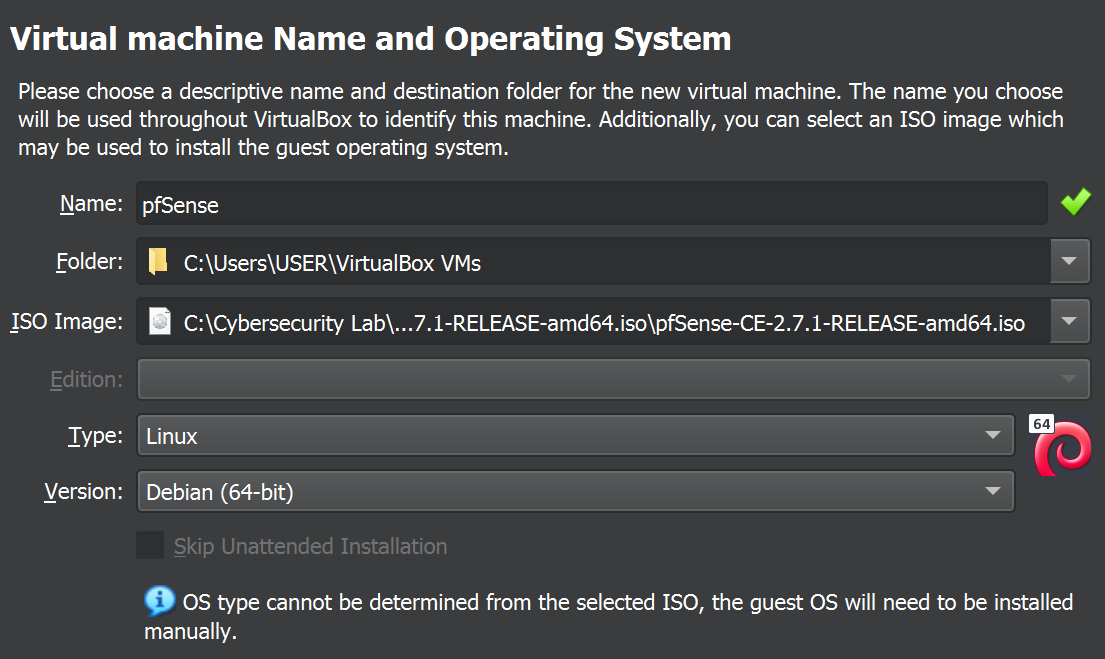
In VirtualBox, create a new virtual machine by selecting 'New' or using Ctrl+N, and in the ensuing dialog box, name the machine 'pfSense', locate your downloaded ISO file, import it in the ISO image section, and proceed by clicking 'Next.'
Set the type to 'Linux' and version to 'Debian (64-bit)
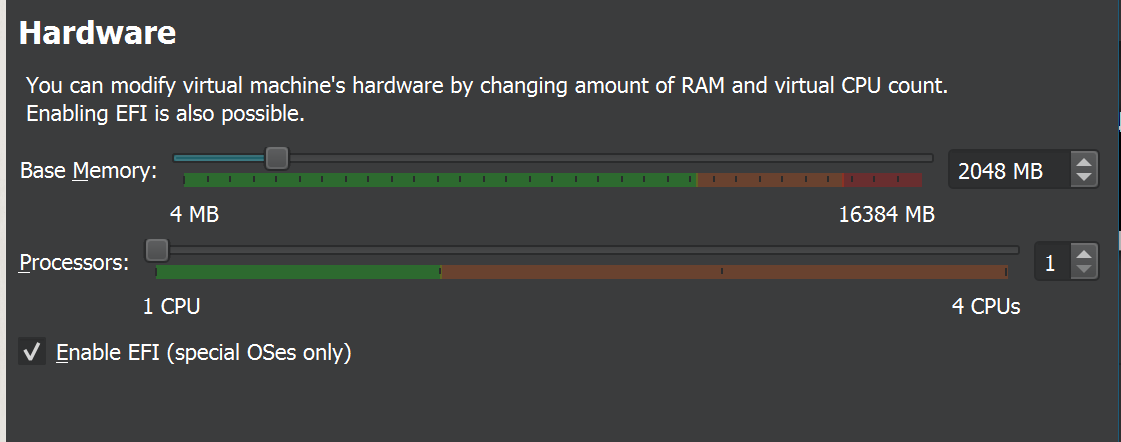
Allocate 2GB (2048 MB) of base memory (RAM) and assign 1 CPU to your home lab and "Enable EFI". Proceed by clicking 'Next' since pfSense is a lightweight operating system.
Note: EFI or UEFI are replacements for BIOS
Set your virtual hard drive to a size of 20GB. Press 'Next' to proceed then click finish to terminate the session.
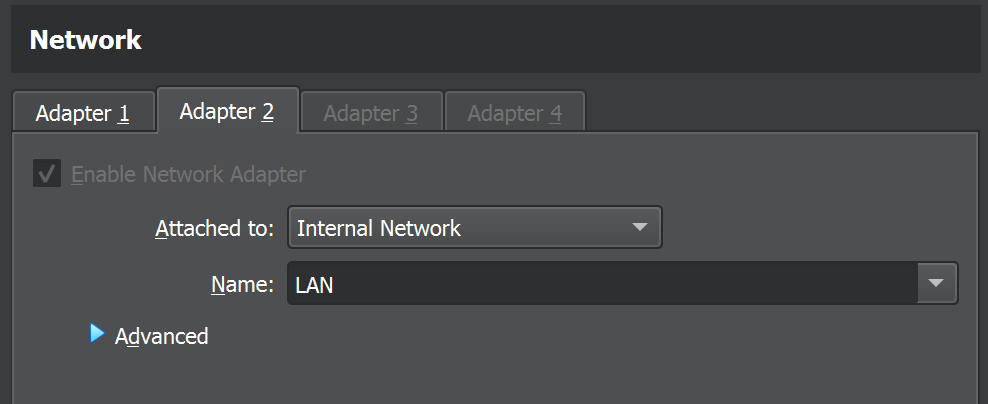
As we are constructing a virtual router, navigate to the 'Settings' in VirtualBox, specifically to the 'Network' section. Configure the machine to have 2 (two) interfaces.
For 'Adapter 1,' designated as our WAN interface, maintain the default setting as NAT.
For 'Adapter 2,' assigned as our gateway interface, enable it and set 'Attached to' as Internal Network, giving it the name 'LAN'.
Click 'OK' and Double-click on pfSense or click 'Start' to initiate the installation process through the wizard.
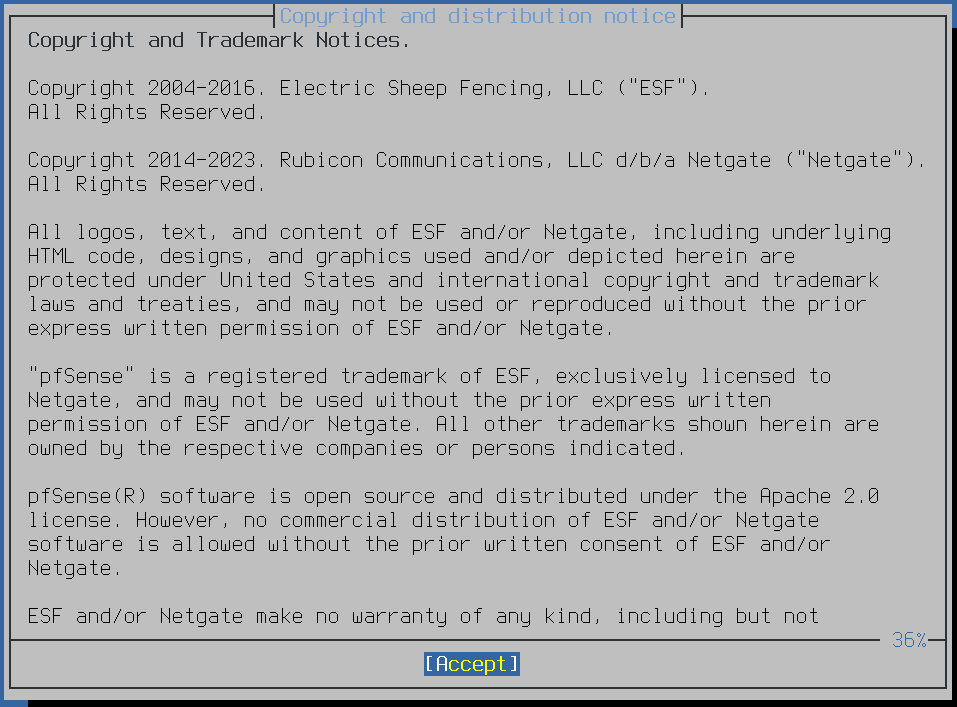
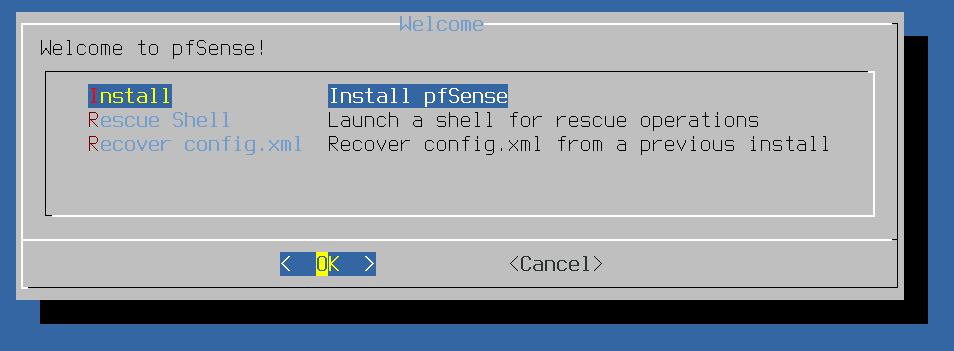
Press 'Enter' to accept. A new dialog box will appear; press 'Enter' again to initiate the installation.
A new dialog box will emerge, prompting you to select a partitioning option such as ZFS, UFS, Manual, or Shell.
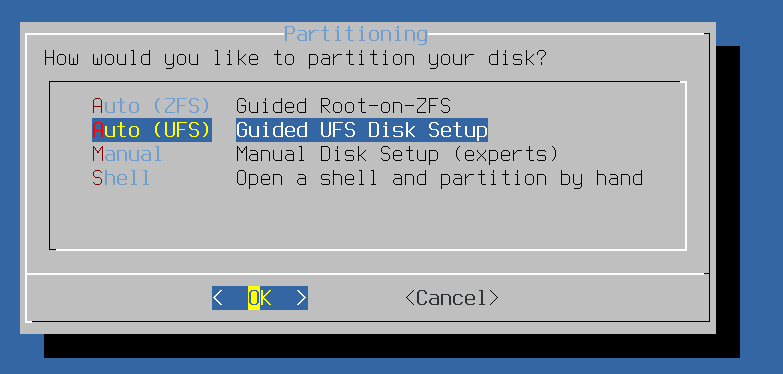
Before we proceed, let's take a moment to briefly understand the first two options, ZFS and UFS.
ZFS (Z File System): Think of ZFS as a high-tech security system for your data. It not only stores your files but also checks them for errors and can repair them if needed. It's like having a smart and secure vault for your information.
UFS (Unix File System): UFS is like a reliable filing cabinet. It's been around for a while and does a great job of organizing your documents (data). It's straightforward and doesn't require much fuss.
After considering the brief explanation, we've chosen UFS due to its beginner-friendly nature.
In the upcoming prompt, choose 'Use Entire Disk' as we're opting for a beginner-friendly approach.
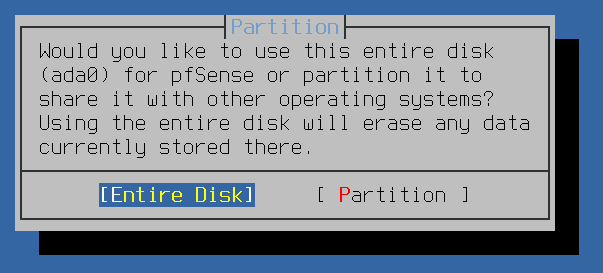
After selecting 'Entire Disk' and pressing Enter, a new prompt will emerge, prompting you to choose a partition scheme. The optimal selection here depends on the specifications of your host machine.
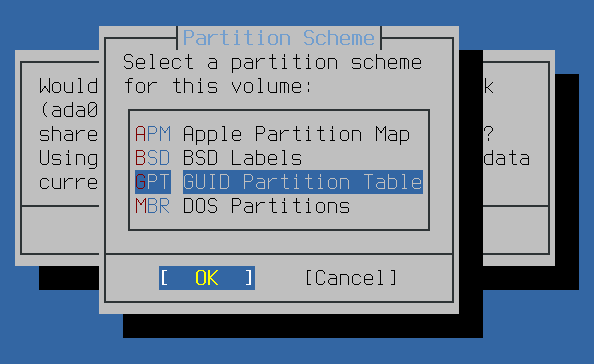
Given that we've Enabled EFI firmware on our virtual machine. In such cases, I am using the GPT (GUID Partition Table) partition scheme.
GPT is well-suited for modern systems that use EFI or UEFI and provides advantages such as support for larger drive sizes and improved data integrity.
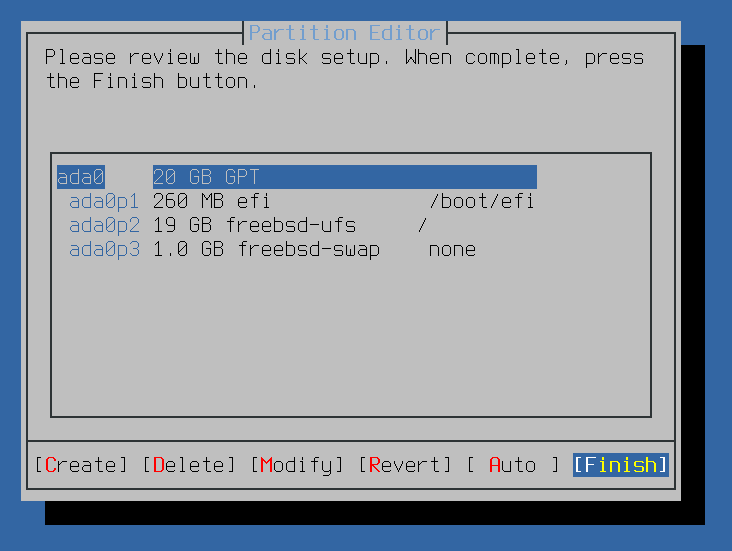
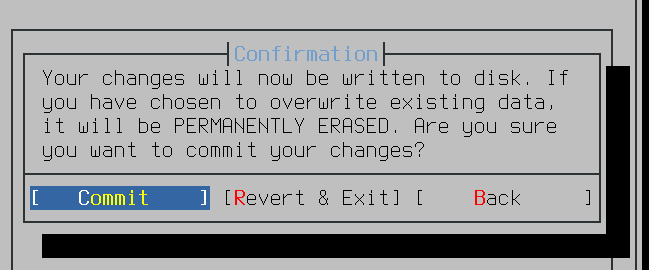
After thoroughly reviewing my settings and finding no need for adjustments, I proceeded by clicking 'Finish.' In the subsequent prompt, I confirmed the changes by selecting 'Commit Changes.'
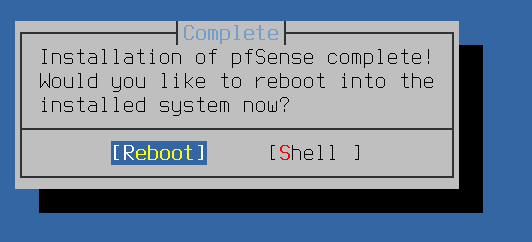
After the installation completes, I initiate a system reboot.
After the machine reboot, it's important to note that the LAN comes with a default firewall allowing all outbound traffic. To further configure, including setting interface(s) IP addresses, enter '2' and press 'Enter'.
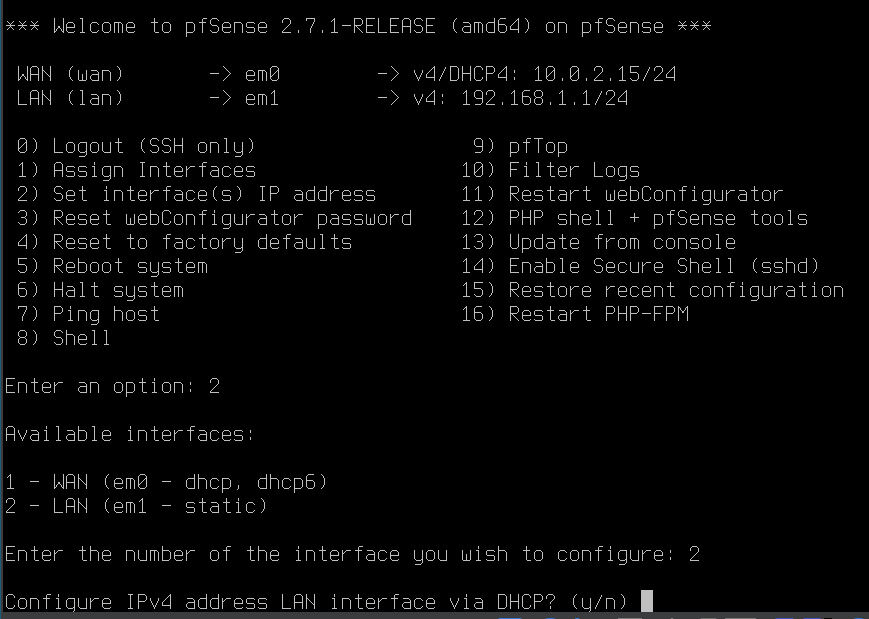
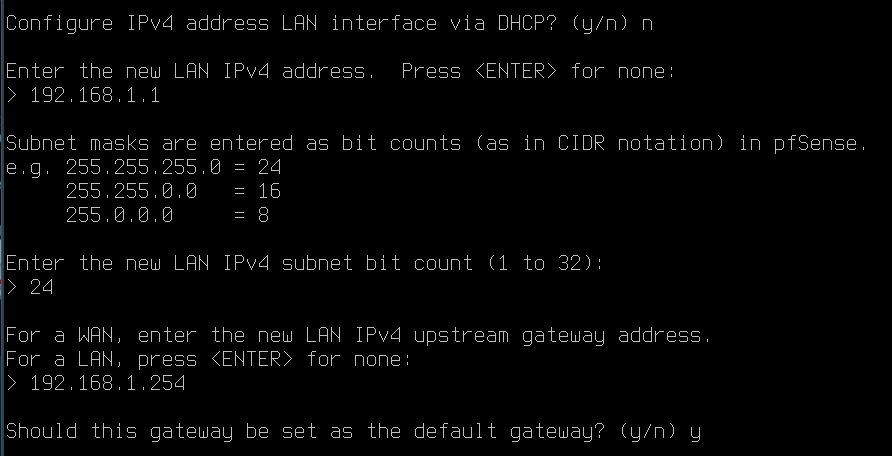
Examining the provided screenshot, you can see the available interfaces. To continue configuring the LAN, I proceed by selecting '2' and pressing 'Enter'. I then responded to the last prompt on the above screenshot with 'N' (No), not to configure the LAN interface via DHCP but rather manually.
I manually assign the IP address '192.168.1.1' to the device. Additionally, I set the IPv4 subnet bit count to '24' to accommodate my network.
I proceed to configure my default gateway, although this step is optional and you can choose not to set it.
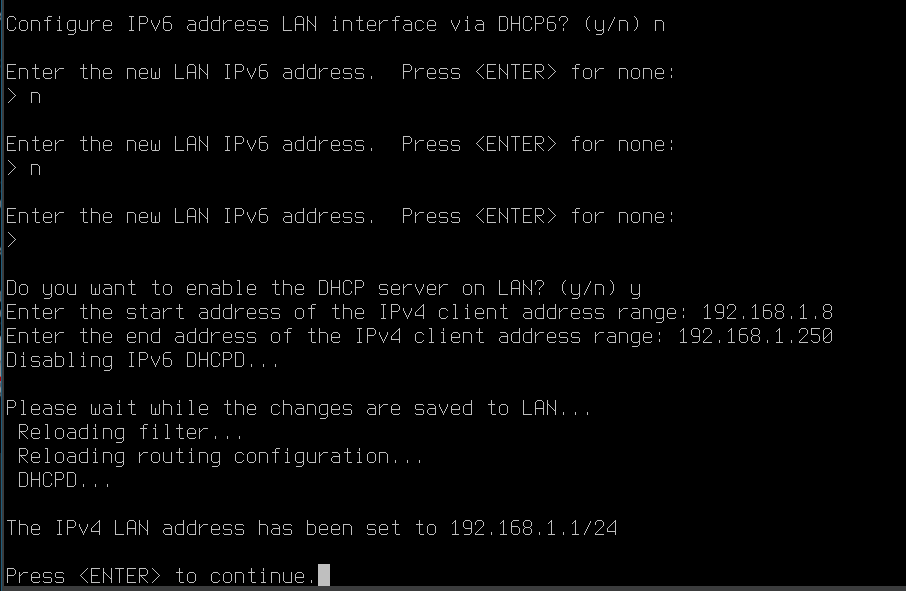
Furthermore, I opted not to configure IPv6, responding 'n' (NO) to all prompts related to IPv6 settings. I simply set the range of IP addresses to be allocated by the DHCP server and proceeded by pressing 'Enter' to end the process.
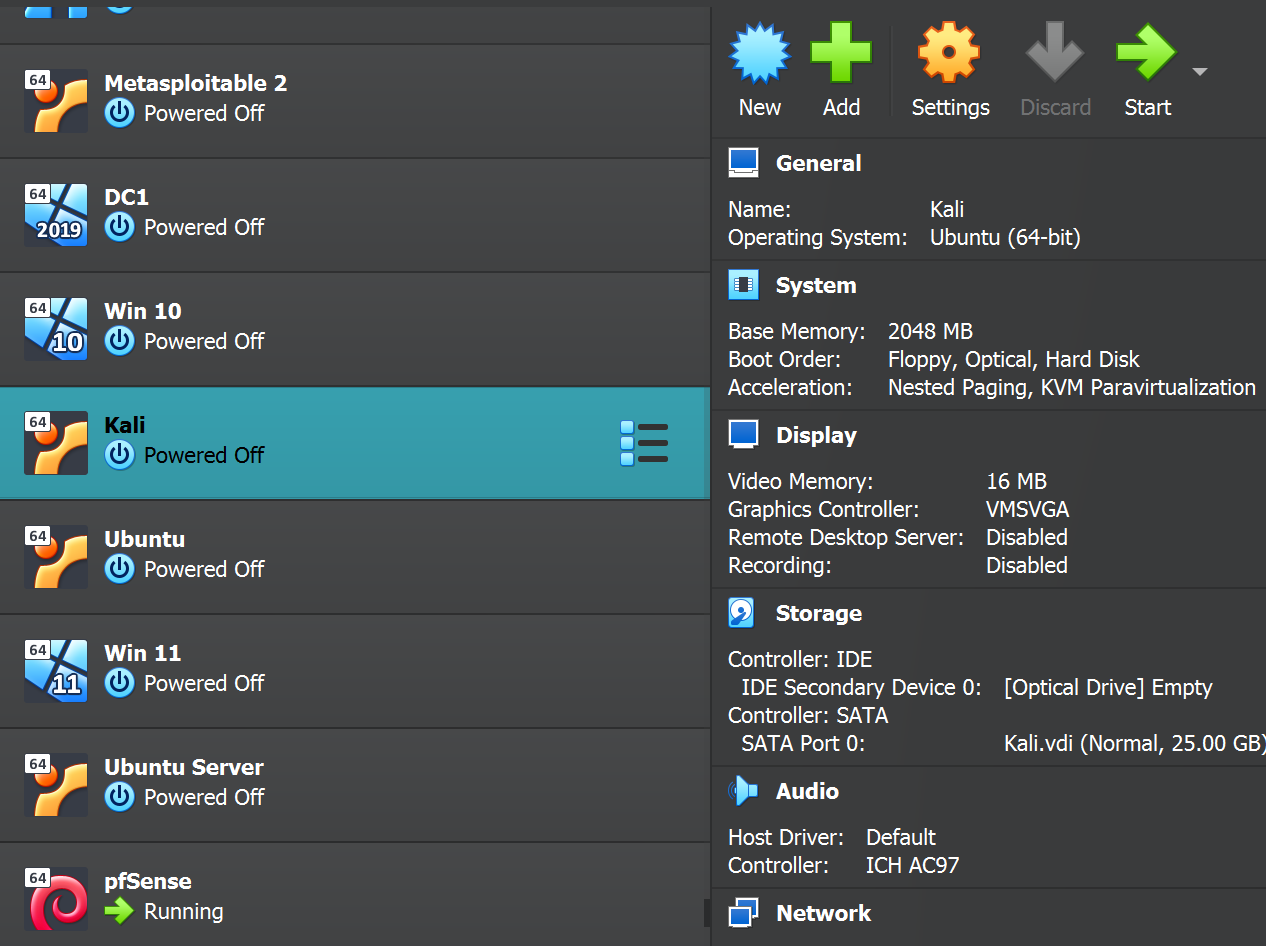
Now that pfSense is successfully configured, let's proceed to add a Kali Linux machine to this network.
I choose my Kali machine and then access the settings by clicking on the right corner of my VirtualBox, or you can use the shortcut Ctrl+S after selecting the machine.
Choose 'Network' and switch 'Adapter 1' to be attached to the internal network, naming it 'LAN.' Click 'OK' to connect to the network.
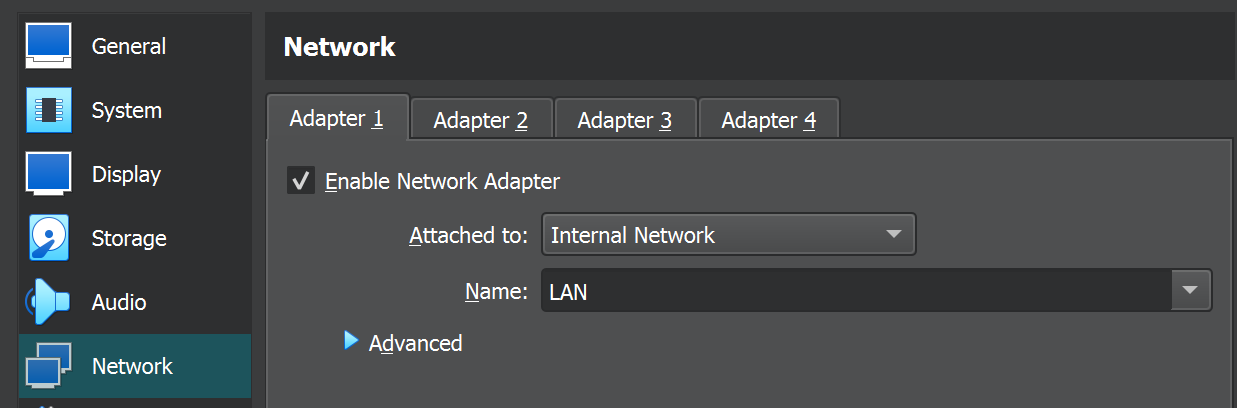
Note: Ensure that 'Adapter 1' on your Kali machine, or any testing machine you are using, is attached to the same 'internal network' and 'LAN' as 'Adapter 2' on your pfSense.
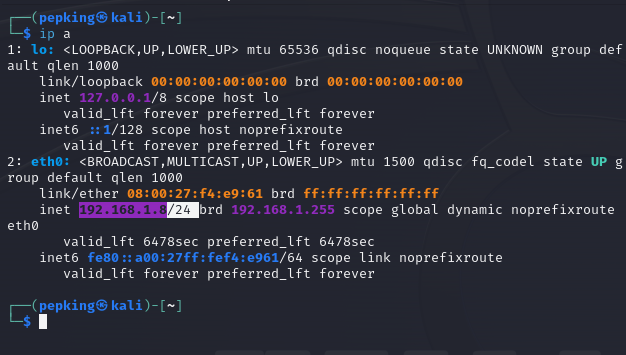
I initiate my Kali machine, log in, and verify the dynamic IP allocated within the range we configured in pfSense.
After logging in, I open the terminal to confirm that the IP address aligns with our configuration, ensuring everything is working as expected.
Interface Setup and Firewall Rules for pfSense
In this lab, I will provide step-by-step guidance on utilizing the interface to establish firewall rules for pfSense, which we've installed via our Kali Linux Firefox browser.
Before proceeding with this guide, ensure that you have meticulously followed the step-by-step instructions for installing and configuring pfSense.
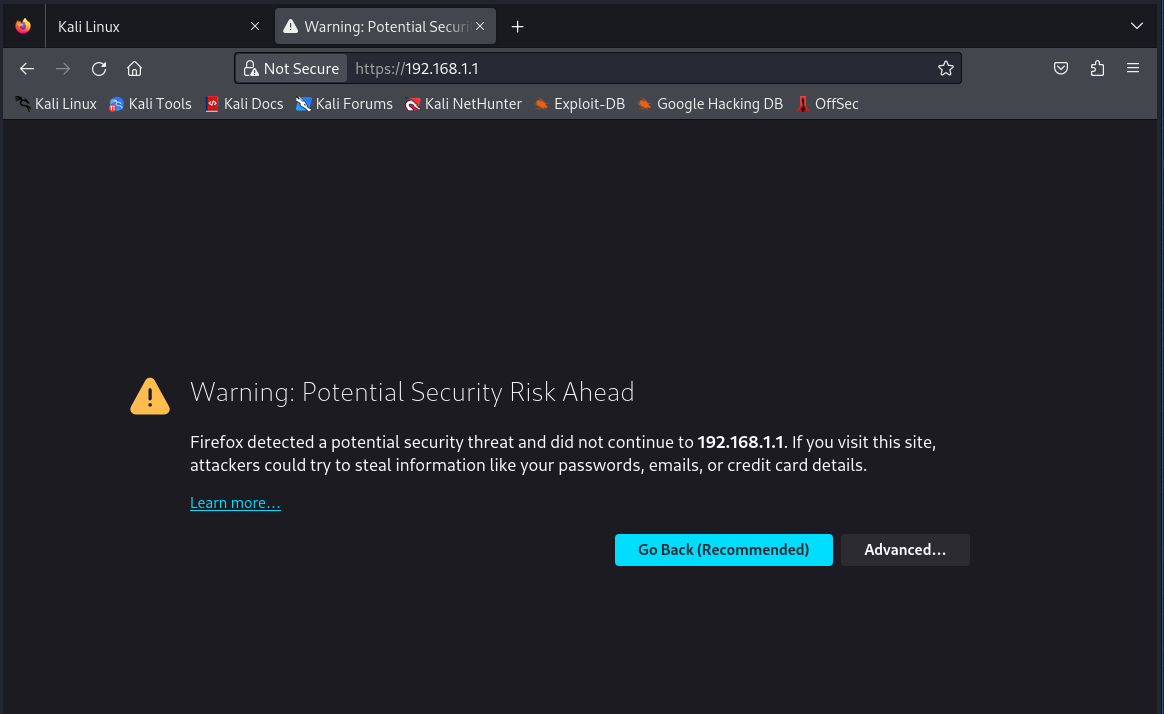
Open the web browser on your Kali machine and enter "192.168.1.1" into the address bar.
Navigate to the "Advanced" option on the screen.
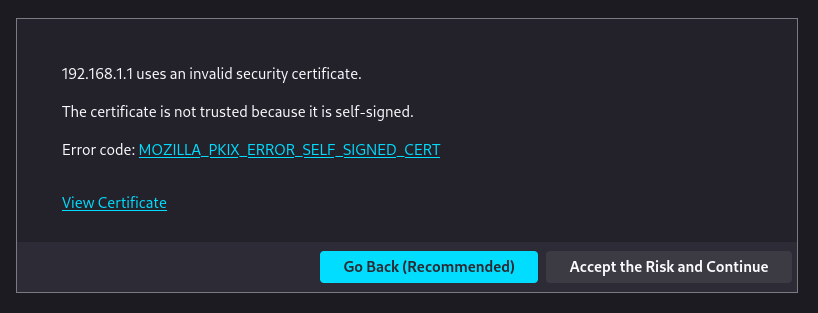
Accept The risk and proceed with the action.
Log in to pfSense using the default credentials:
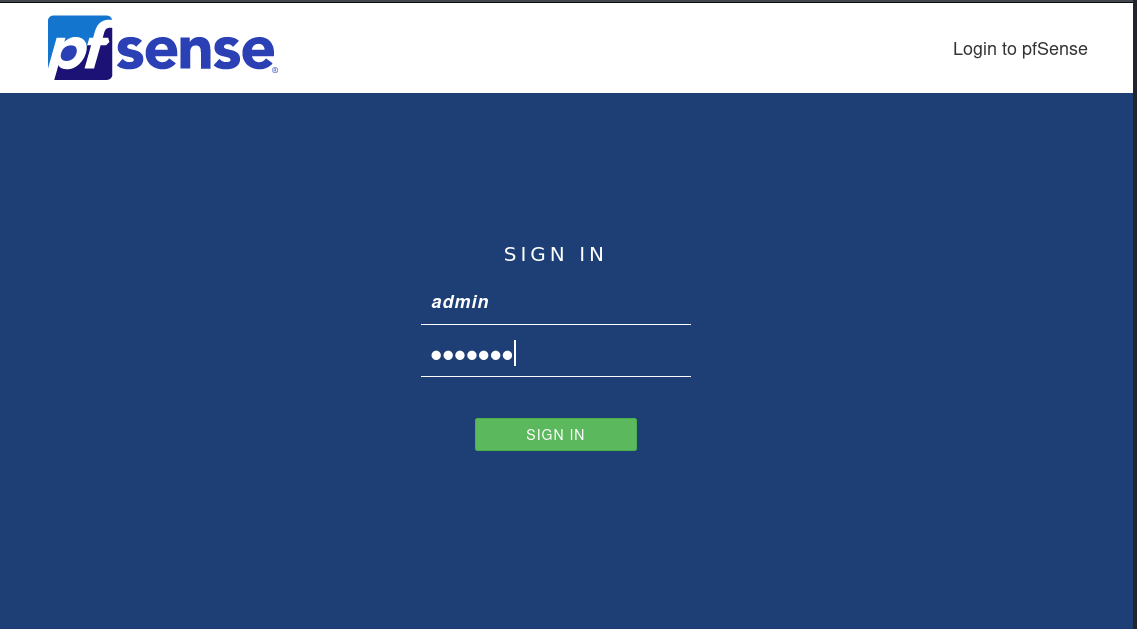
Upon successful login, you will be directed to the pfSense setup wizard/page.
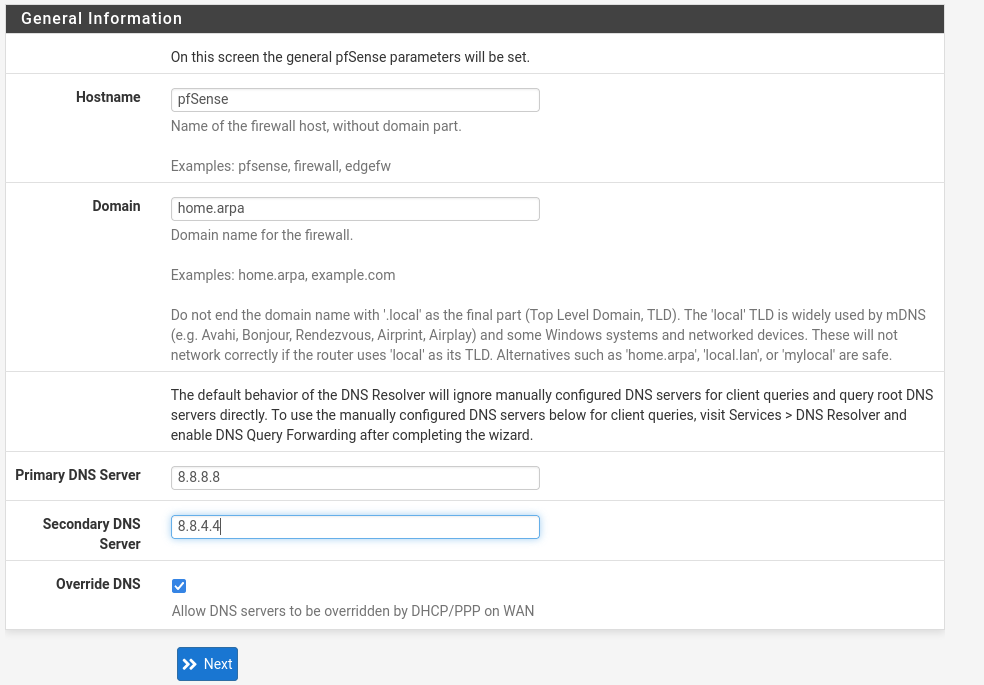
Continue clicking "Next" until you reach step 2 of 9 in the setup process.
Enter "8.8.8.8" as the primary DNS server during the setup process.
Input "8.8.4.4" as the secondary DNS server in the designated field.
Proceed by clicking the "Next" button to advance to the next step in the setup process.
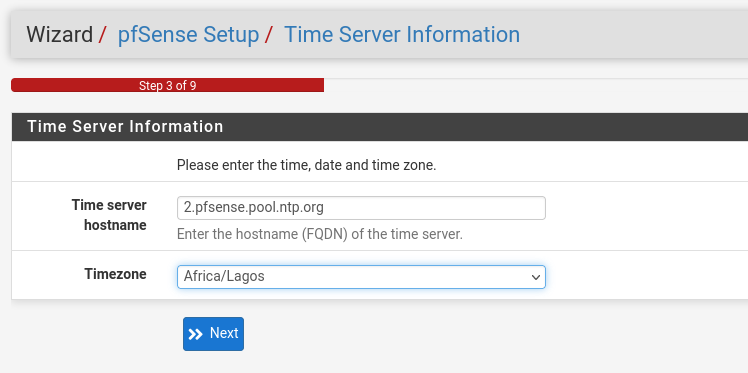
Choose your time zone from the list, and in my case, I am selecting "Africa/Lagos." Then, proceed to the next step.
Click Next
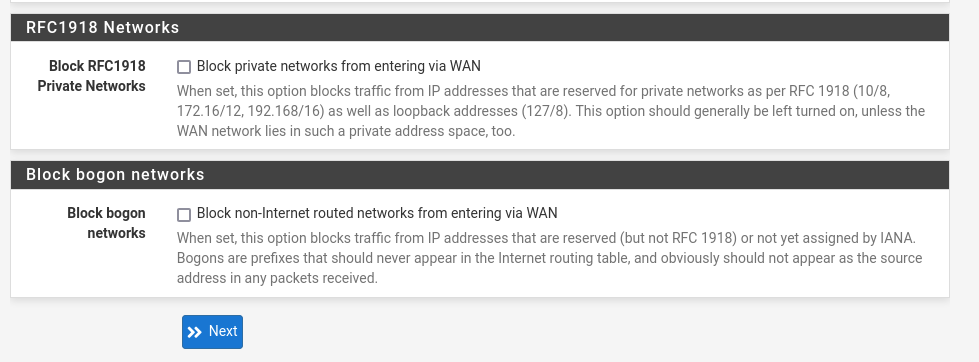
Navigate to the bottom of the page and ensure that the options to unblock RFC1918 private networks and bogon networks are selected. Then, proceed to the next step.
Not: that this step is optional; you can skip it if you prefer. Proceed to the next step if you decide not to implement these changes.
The decision to unblock RFC1918 private networks and bogon networks is made to enable the capture and analysis of alerts on Security Onion. This step enhances the ability to monitor and respond to security-related events within the network.
Click Next
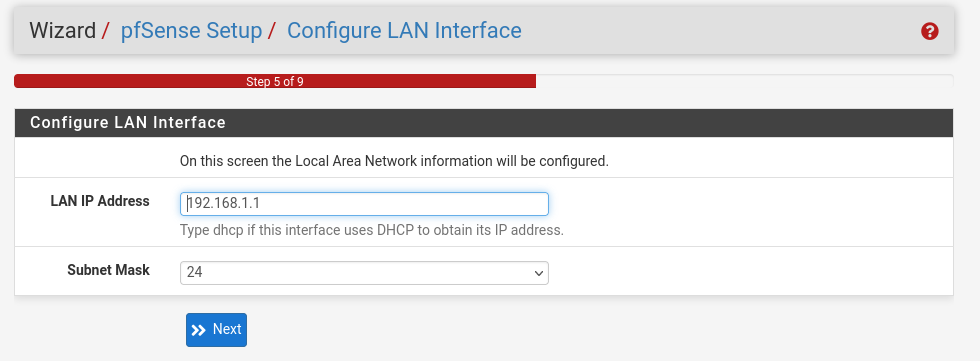
In stage 5 of 9, there are no changes required. Simply proceed by clicking "Next" to continue with the setup process.
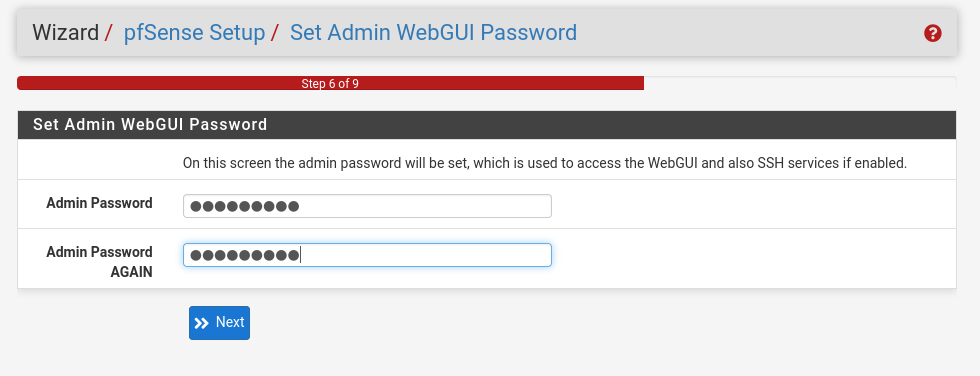
It is highly recommended to reset the admin password for security reasons. Leaving the default password poses a significant risk, so make sure to set a strong, unique password during this stage of the setup process to enhance the security of your pfSense installation.
Change the admin password to a secure and unique one, then proceed by clicking "Next" to continue with the setup process.
Select the "Reload" option to apply the changes and reload pfSense with the updated configuration.
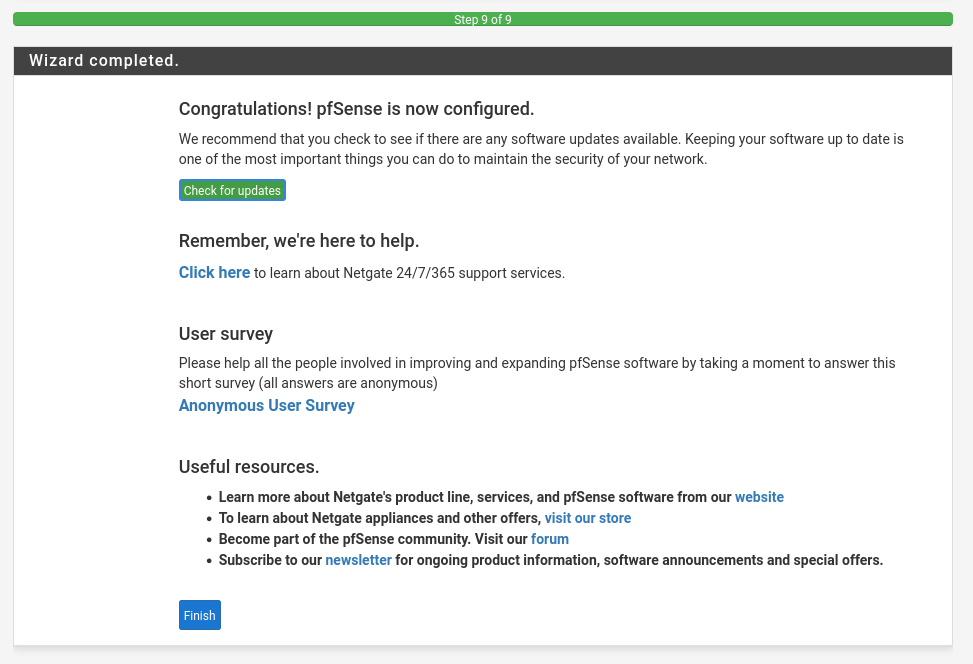
Conclude the setup process by clicking on 'Finish' in the last step. This will finalize the configuration changes you have made in pfSense.
Carefully review the copyright and policy information, ensuring that you commit to using pfSense responsibly and within legal boundaries. If in agreement, proceed to accept the terms.
Navigate to the toolbar at the top, click on "System" and then select "General Setup." Scroll down to locate the "Web Configurator" section, and change the theme to "pfSense-dark."
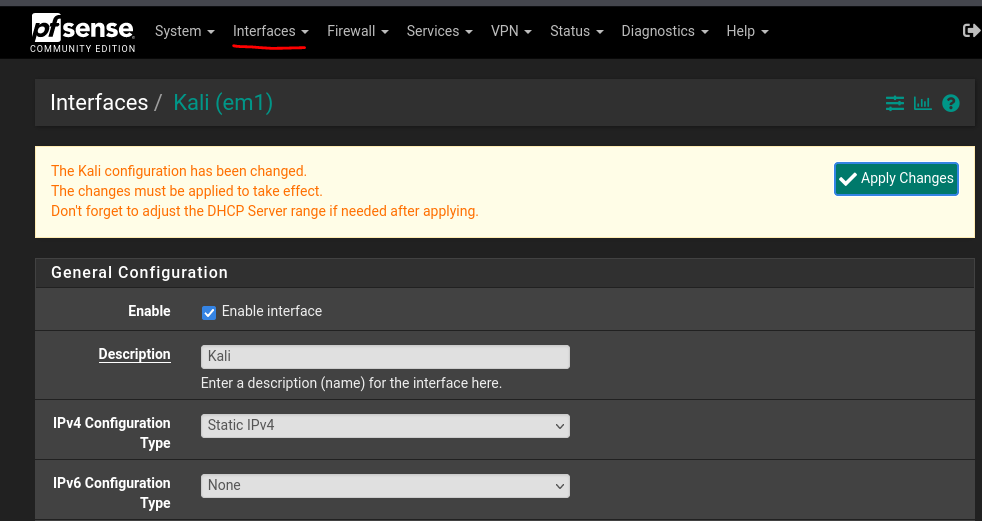
Similarly, follow the procedure to navigate to "Interfaces" and then select "LAN." Change the description to "Kali," save the changes, and click on "Apply Changes" to ensure that your modifications take effect.
Repeat the outlined steps for each available port, customizing their descriptions to suit our needs. Ensure that you enable the port without an assigned IP, named "SpanPort" in your case, to complete the configuration. Remember to save your changes and click on "Apply Changes" after each modification to activate the configurations.
Assign the following configurations to each port based on your specified roles:
Make sure to enable the port without an assigned IP, named "SpanPort." After updating each port's configuration, save the changes and click on "Apply Changes" to ensure the modifications take effect.
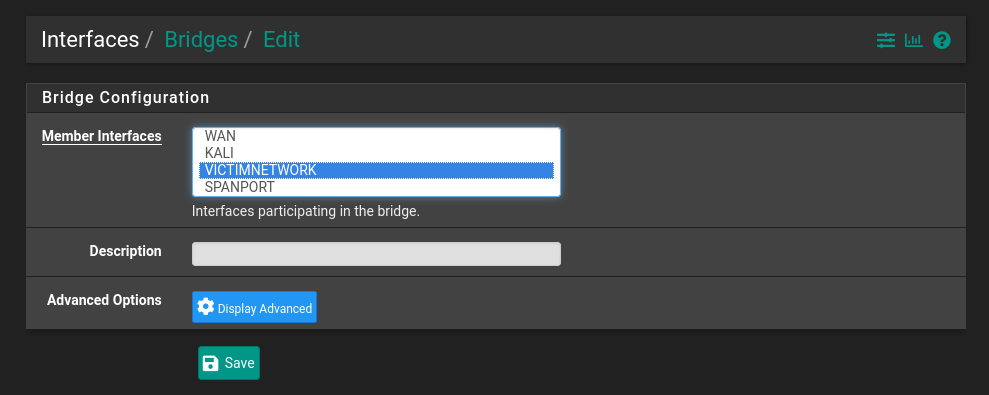
Navigate to "Assignments," then select "Bridges" and click "Add." Choose "VictimNetwork" and click on "Display Advance" to access advanced settings for the bridge configuration.
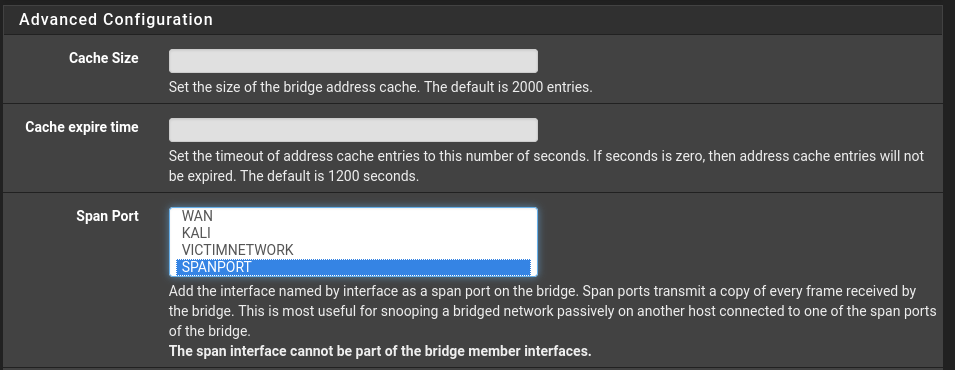
In the Span Port section, choose "SpanPort" and click on "Save" to complete the configuration for the specified port.
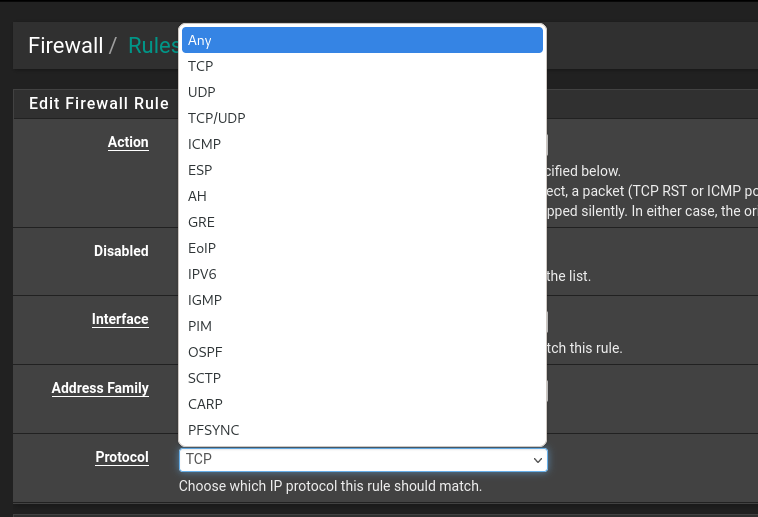
Go to "Firewall" and select "Rules." Click on "Add" to add a new rule to the end of the list. Navigate to the "Protocol" section and change it from TCP to "Any." Click "Save" and then apply the changes to implement the new firewall rule.
Certainly, unblocking private and bogon networks, and setting up firewall rules as described, enhances the visibility of network traffic and can generate meaningful logs and alerts in Security Onion, as well as When we integrate Suricata for Intrusion Detection System (IDS)
pfSense is indeed widely regarded as one of the best open-source firewall solutions. It is known for its robust features, flexibility, and ease of use. pfSense offers a variety of capabilities, including firewall and routing functionality, VPN support, traffic shaping, and intrusion detection/prevention. Its open-source nature allows for community-driven development and regular updates, contributing to its reliability and security.
Many users appreciate pfSense for its user-friendly web interface, extensive documentation, and the active community that provides support and assistance. Overall, pfSense is a popular choice for individuals and organizations seeking a powerful, customizable, and open-source firewall solution to secure their networks.
Security professionals must prioritize mastering firewall concepts and configurations. As a crucial first line of defense, firewalls control, monitor, and protect networks, making proficiency in their use essential for enforcing security policies and safeguarding against threats.
A misconfigured firewall exposes your network to attackers. In future sessions, we'll explore creating rules and setting up services to enhance firewall security.